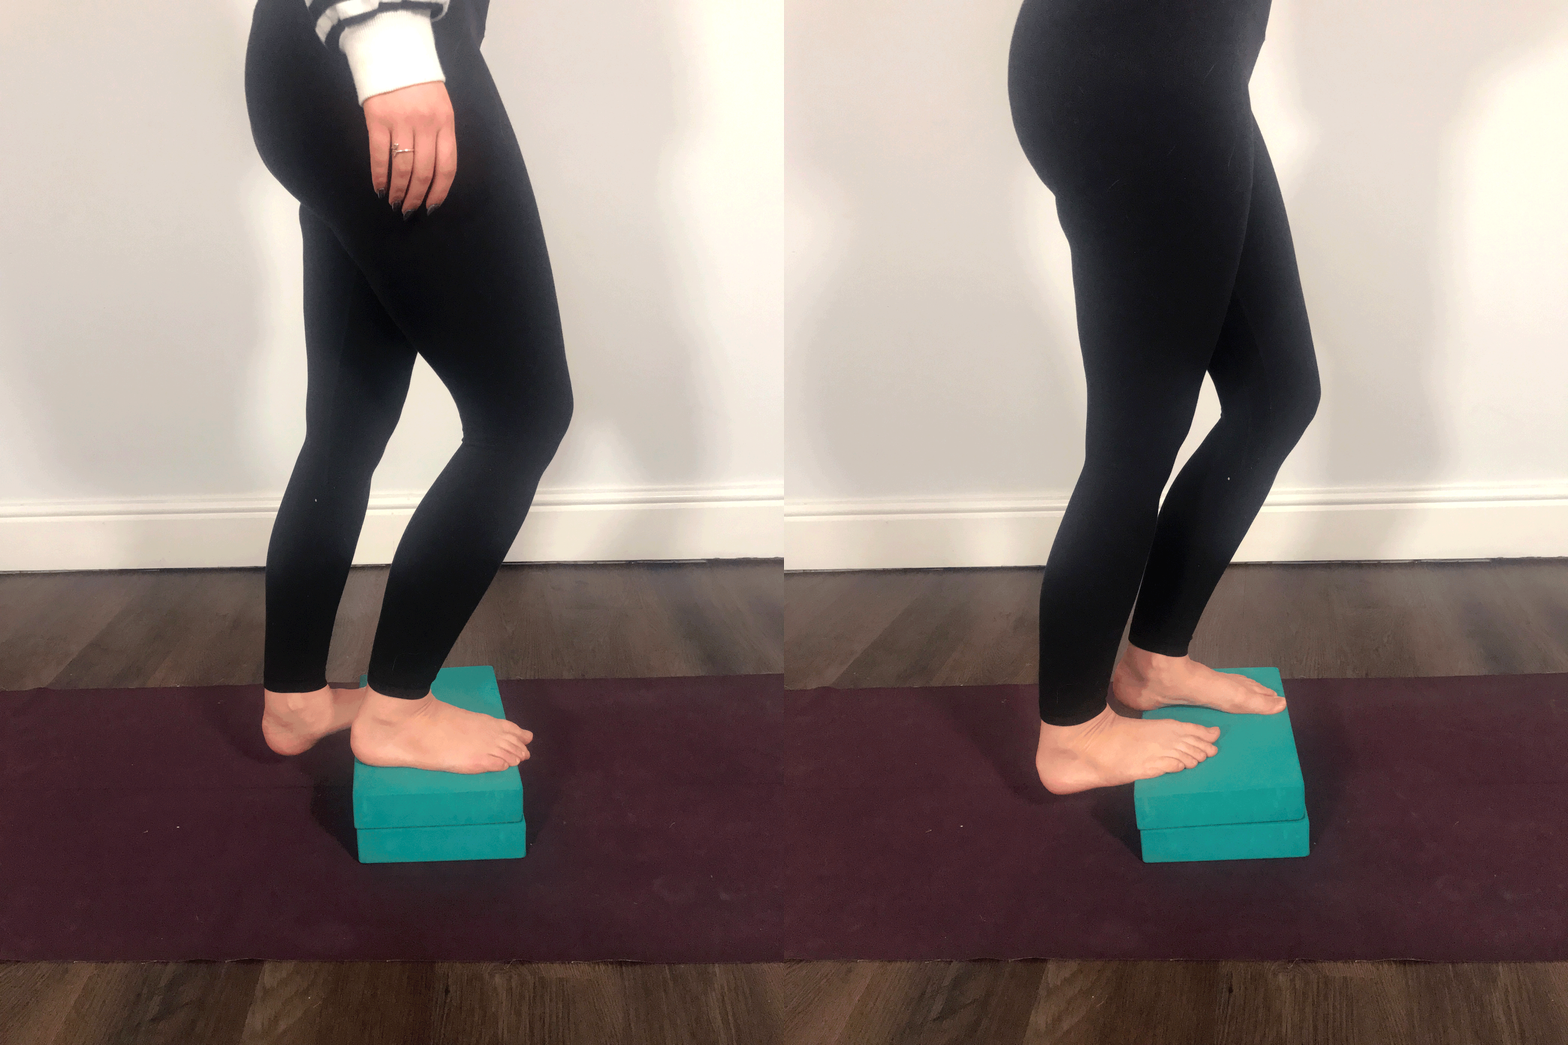
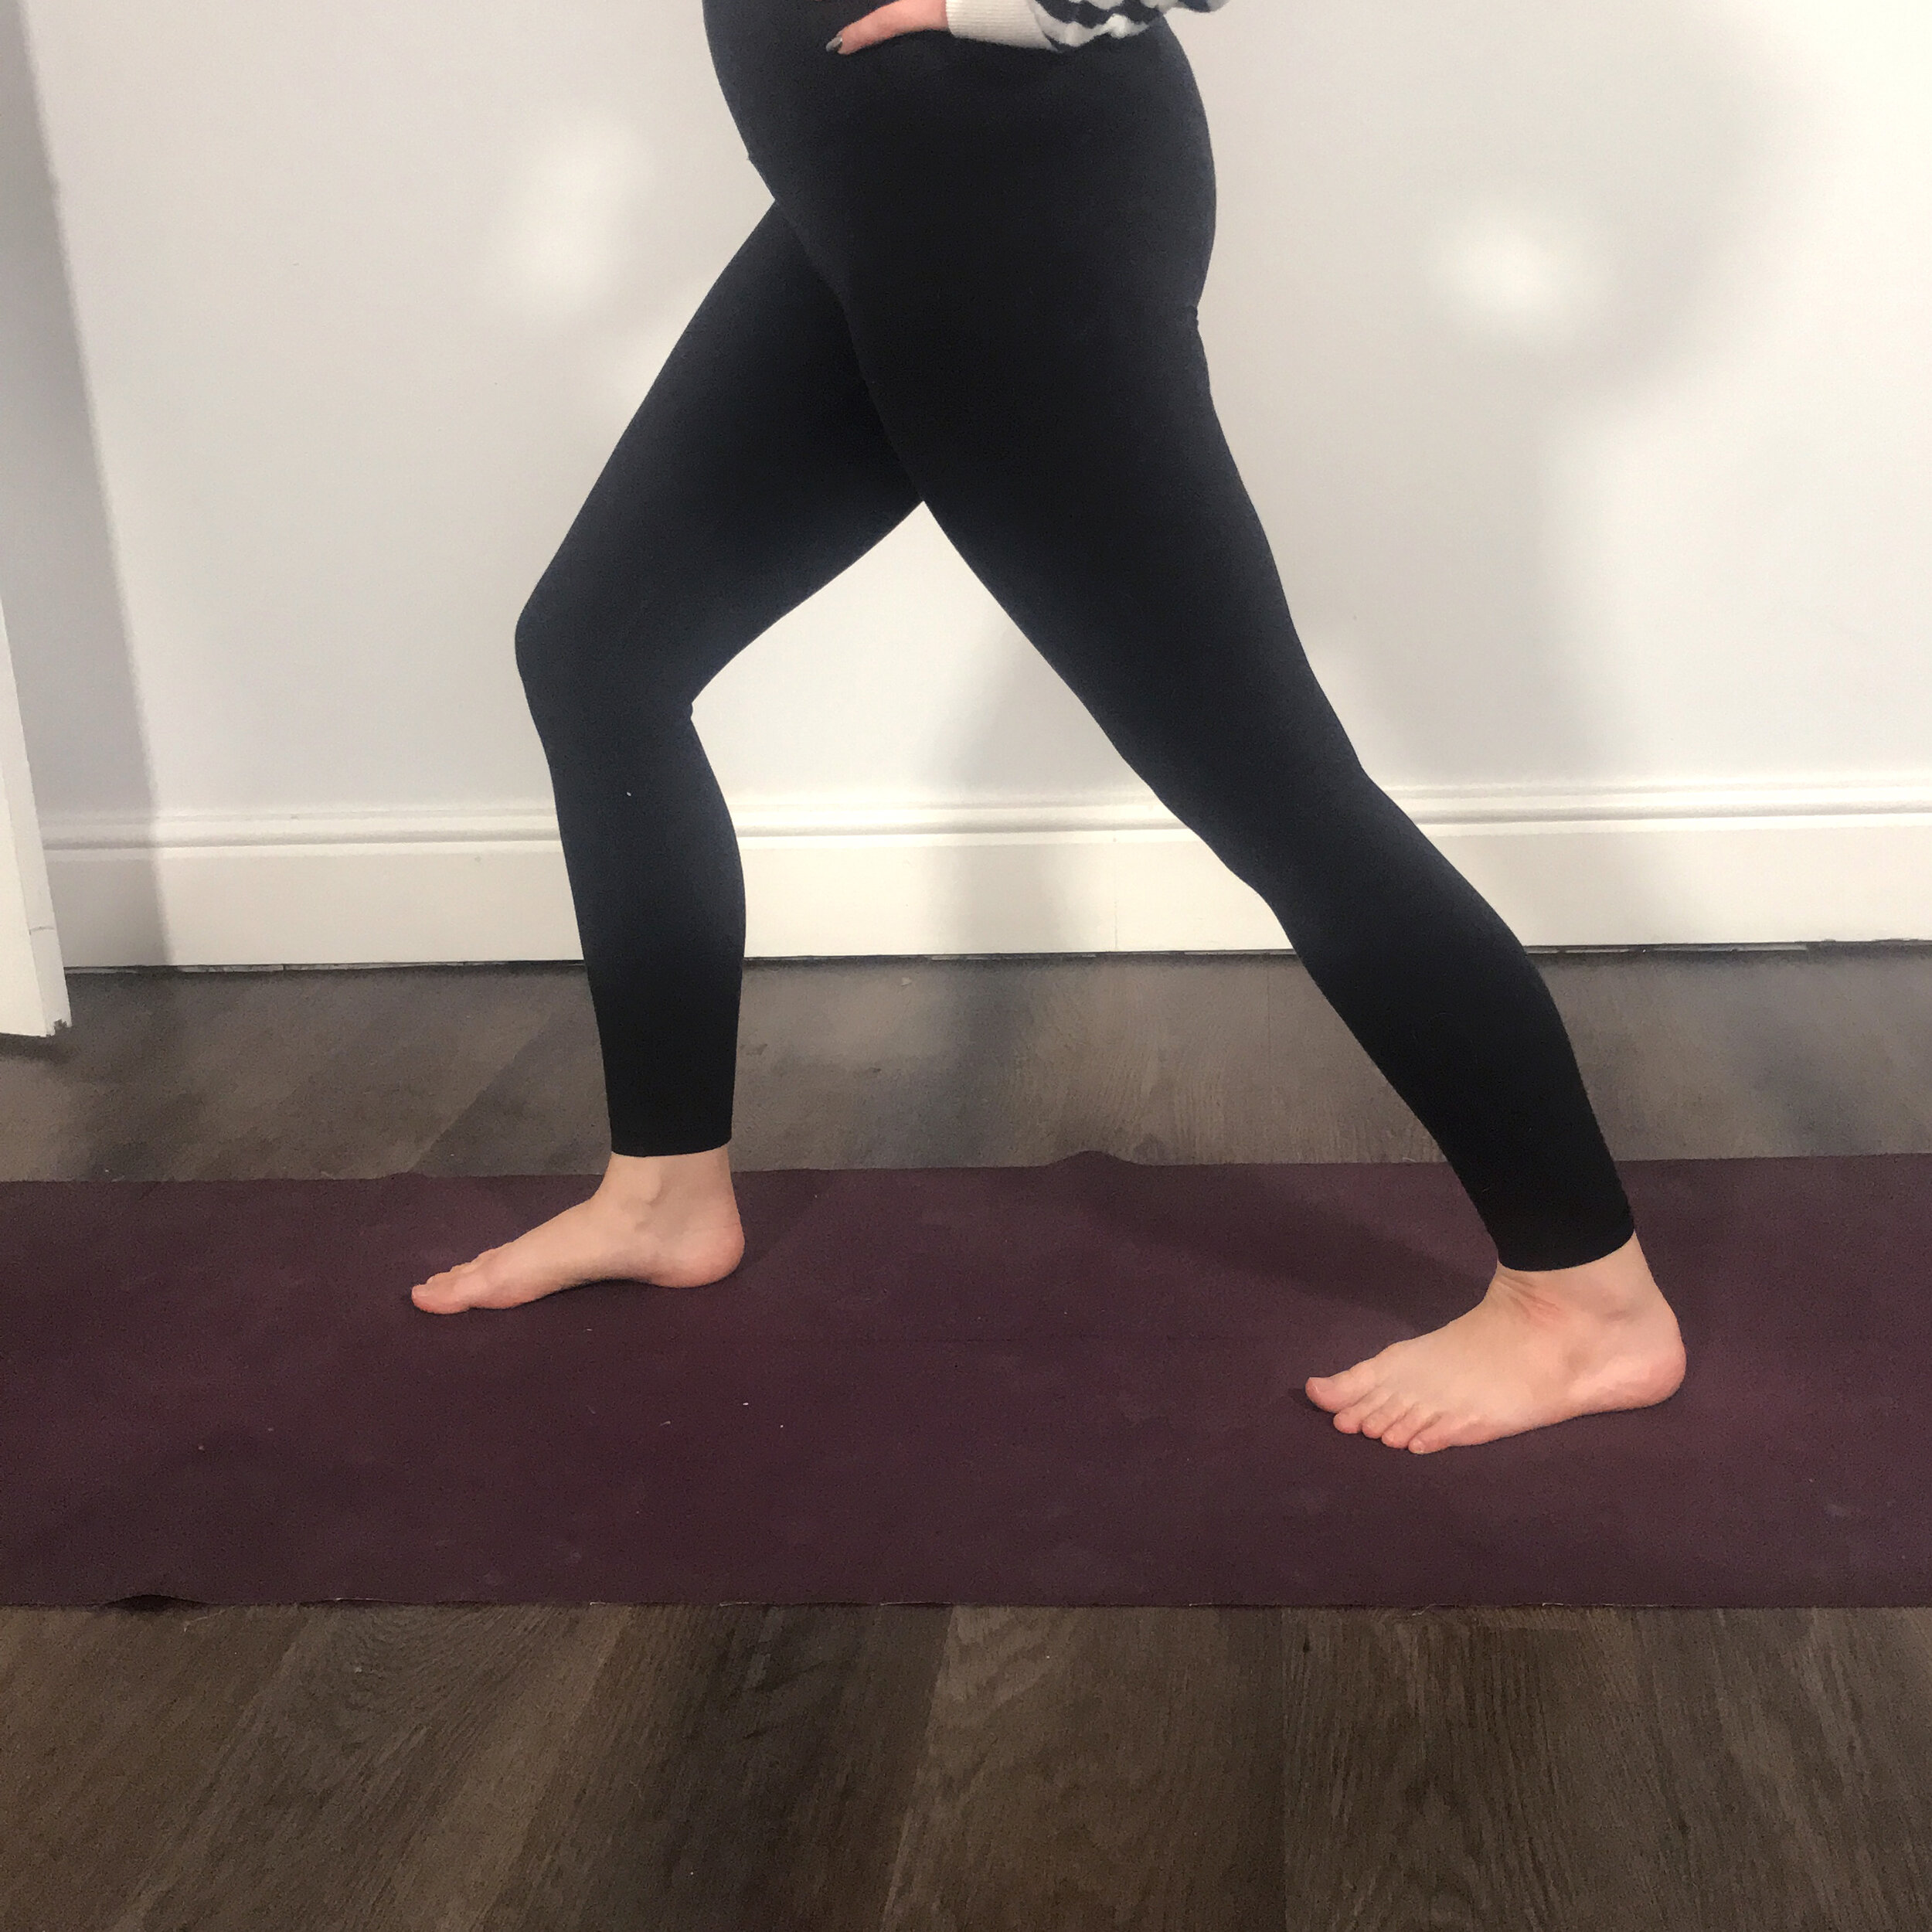
I’ve had two different Yoga students ask me recently about calf stretches, as they were suffering from tight and sore calves. I realised I have concentrated so much on the hamstrings during my years of Yoga teaching, because I personally have tightness here, and I hadn’t spent as much time specifically looking at which poses stretch out the calves. There are a number of traditional yoga asana poses which involve stretching this muscle, but in this post I will be honing in on the exercises that really deliver!
There are a few things to consider before getting started with the below exercises:
Blocks and straps are your friend: Seriously, these props are so helpful for isolating the calf muscle and really accessing that stretch. If you don’t have these accessories, a towel, stack of books or a stair make good alternatives.
The calves are actually two muscles: And they need to be stretched seperately! Soleus: this part of the calf muscle starts just below the knee so is stretched with the knee bent. Gastrocnemius: this part of the calf muscle starts above the knee, so the knee needs to be straight when stretching it. So what does this mean for the below exercises? Basically you need to perform some of the stretches in two different ways in order to stretch the whole calf muscle.
Hold For Longer: Studies have shown the most effective way to stretch is to hold for thirty seconds. This gives the muscle fibers time adequate time to relax. Any less than 30 seconds and there will be smaller changes in muscle length.
Safety first: Calf stretches should not be done immediately after an injury to prevent further damage. You should be able to push down through your toes without pain before you commence calf stretches. Consult your doctor or physio if you are thinking about undertaking stretches after injury.


